1
2
| nano /etc/crontab
# 删除 0 1 9 * * root /root/updatecert.sh > /root/upclog.txt
|
1
2
3
| export EDITOR="/usr/bin/nano"
crontab -l
crontab -e
|
第二步 安装 acme.sh
1
2
3
4
5
6
7
8
9
|
tar -zxvf proxychains-ng-4.15.tar.gz
cd proxychains-ng-4.15
yum groupinstall "Development Tools" "Development Libraries"
./configure --prefix=/usr --sysconfdir=/etc
make && make install
make install-config
nano -K /etc/proxychains.conf
|
1
2
| # https://github.com/XTLS/Xray-core/releases 上传 Xray-linux-64.zip
unzip Xray-linux-64.zip
|
1
2
3
4
5
6
7
8
9
10
|
vi ./xui2.json
:set ff
:set ff=unix
:wq
./xray run -c ./xui2.json &
jobs
|
proxychains 只会代理 TCP 连接,而 ping 使用的是 ICMP。记住这一点即可。
1
2
| proxychains4 bash
curl https://get.acme.sh sh
|
第三步 停止代理
第四步 查看cron
1
2
| crontab -l
51 0 * * * "/root/.acme.sh"/acme.sh --cron --home "/root/.acme.sh" > /dev/null
|
第五步 新建脚本
1
2
3
4
5
6
7
| nano -K updatecert.sh
export LE_WORKING_DIR="/root/.acme.sh"
export CF_Key=""
export CF_Email=""
"/root/.acme.sh"/acme.sh --cron --home "/root/.acme.sh" > /dev/null
|
第六步 修改cron
1
2
| crontab -e
51 0 * * * /root/updatecert.sh > /dev/null
|
第七步 创建证书
1
2
| certbot revoke --cert-path /etc/letsencrypt/live/limour.top/fullchain.pem
acme.sh --revoke -d prcdn.limour.top
|
1
2
3
4
5
6
| export LE_WORKING_DIR="/root/.acme.sh"
export CF_Key=""
export CF_Email=""
alias acme.sh="/root/.acme.sh/acme.sh"
acme.sh --register-account -m limour@limour.top
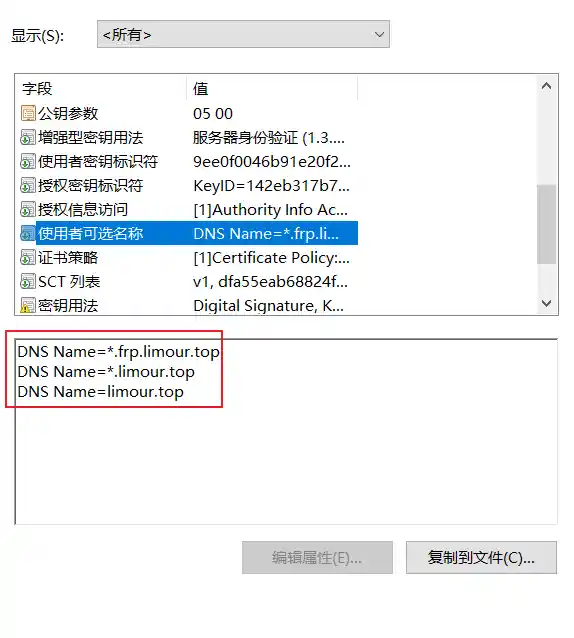
acme.sh --issue --dns dns_cf -d *.limour.top -d limour.top -d *.frp.limour.top --server https:
|
第八步 配置证书
1
2
| SSLCertificateFile /etc/letsencrypt/live/fullchain.pem
SSLCertificateKeyFile /etc/letsencrypt/live/privkey.pem
|
1
2
3
4
| acme.sh --install-cert -d *.limour.top \
--key-file /etc/letsencrypt/live/privkey.pem \
--fullchain-file /etc/letsencrypt/live/fullchain.pem \
--reloadcmd "systemctl restart httpd"
|
成功!