原神 AI全自动钓鱼 使用方法
代码来源
https://github.com/7eu7d7/genshin_auto_fish
第一步 安装 Anaconda
- 清华大学开源软件镜像站
- Getting started with Anaconda
- 下载安装包,安装到独立的磁盘,取消掉两个Advanced Options

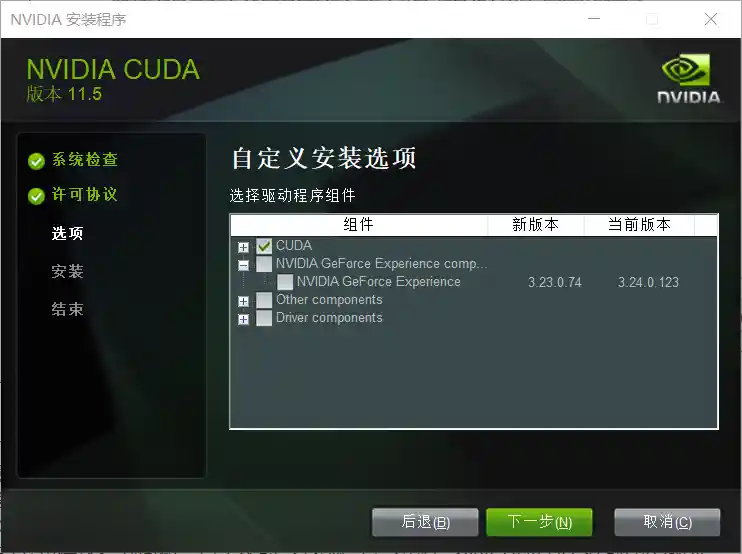
第二步 安装cuda和cuDNN
- win10安装CUDA和cuDNN的正确姿势
- 下载或更新最新的 GEFORCE EXPERIENCE
- 使用 GEFORCE EXPERIENCE 更新最新驱动
- 桌面右键打开英伟达控制面板,点击帮助->系统信息->组件->NVCUDA.DLL 获取cuda版本
- CUDA Toolkit
- NVIDIA Developer Program
- 按教程安装,覆盖,设置好环境变量
- cuda安装时取消除cuda外的其他选项
第三步 修改 conda 镜像
- conda config –set show_channel_urls yes
- conda config –show
- conda config –add pkgs_dirs G:\python\conda\pkgs
- conda config –add envs_dirs G:\python\conda\envs
- conda config –remove pkgs_dirs C:\Users\11248.conda\pkgs
- conda config –remove pkgs_dirs C:\Users\11248\AppData\Local\conda\conda\pkgs
- conda config –remove envs_dirs C:\Users\11248.conda\envs
- conda config –remove envs_dirs C:\Users\11248\AppData\Local\conda\conda\envs
- Anaconda 镜像使用帮助 添加镜像
- conda clean -i
第四步 修改 pip 镜像
- pip安装使用国内镜像
- 创建 pip/pip.ini
- (linux下,修改 ~/.pip/pip.conf)
- 写入以下内容
1 | |
1 | |
第4.5步 老老实实安装 visual-cpp-build-tools
- https://visualstudio.microsoft.com/visual-cpp-build-tools/
- 点上C++桌面开发的勾,mmp,绕不过
第五步 安装 genshin_auto_fish
- git clone https://github.com/7eu7d7/genshin\_auto\_fish.git
- conda create -n ysfish python=3.6
- conda activate ysfish
- conda prompt 打开 genshin_auto_fish 目录
- cd G:\github\genshin_auto_fish
- python -m pip install -U pip –user
- 下载 pycocotools_windows-2.0.0.2-cp36-cp36m-win_amd64.whl
- pip install .\pycocotools_windows-2.0.0.2-cp36-cp36m-win_amd64.whl
- 删除 requirements.py 里的 git+https://github.com/philferriere/cocoapi.git#subdirectory=PythonAPI
- python requirements.py –cuda 110 –proxy http://127.0.0.1:10808
- python requirements.py –cuda 110
第5.5步 修改一些文件
- .\yolox\utils\metric.py 36行 max_mem = int(total * mem_ratio) - 1000
- .\yolox_tools\train.py torch.set_num_threads(2)
- yolox_tiny_fish.py self.data_num_workers = 0 self.max_epoch = 9
- python yolox_tools/train.py -f yolox/exp/yolox_tiny_fish.py -d 1 -b 8 –fp16 -c weights/yolox_tiny.pth –cache
- .\fishing.py 152 env = Fishing(delay=0.1, max_step=10000, show_det=False)
- .\fisher\environment.py 205 if np.mean(np.abs(self.img[py,px,:]-self.std_color))>15:
- .\fisher\environment.py 122 self.std_color=np.array([255, 250, 190])
- .\fishing.py 150 def start_fishing(predictor, agent, bite_timeout=120):
- .\fishing.py 174 times=-1 175 break 176 if times == -1: continue
- .\fishing.py 183 time = time.time() 189 if done or time.time() - time > 120:
第六步 按Readme操作即可
原神 AI全自动钓鱼 使用方法
https://b.limour.top/1308.html